Ventilation / hole placement
Laser-Perforated Performance Caps
Perforation patterns have to work with the panel seams, decoration area and crown shape. Examine the size, spacing and position of the holes on a physical reference.
See sample references →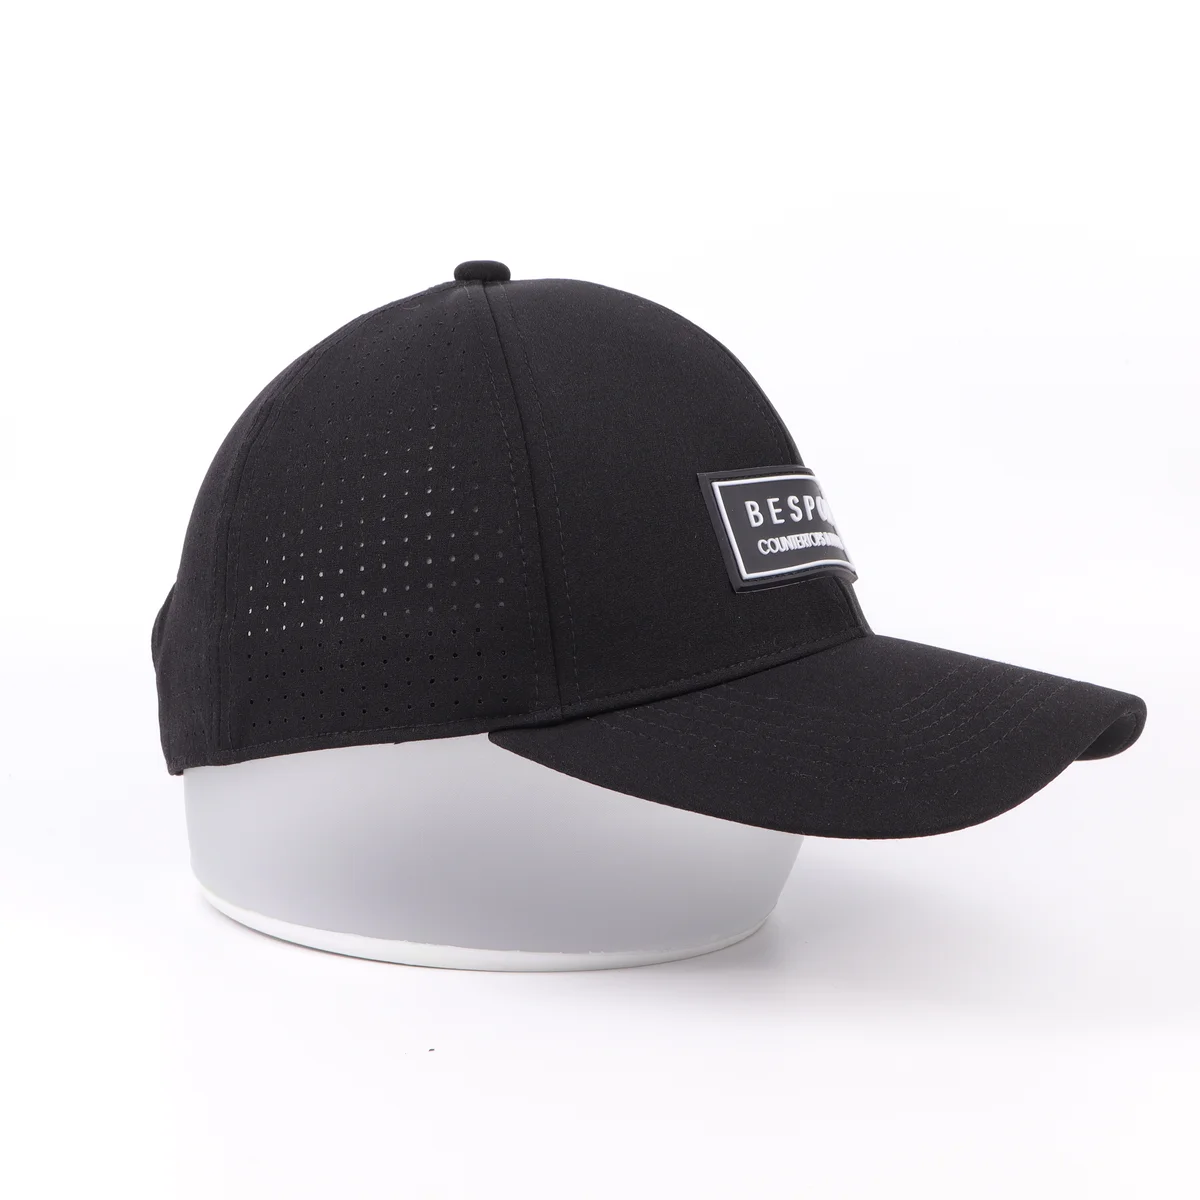
CONSTRUCTION NOTES
What matters in this collection
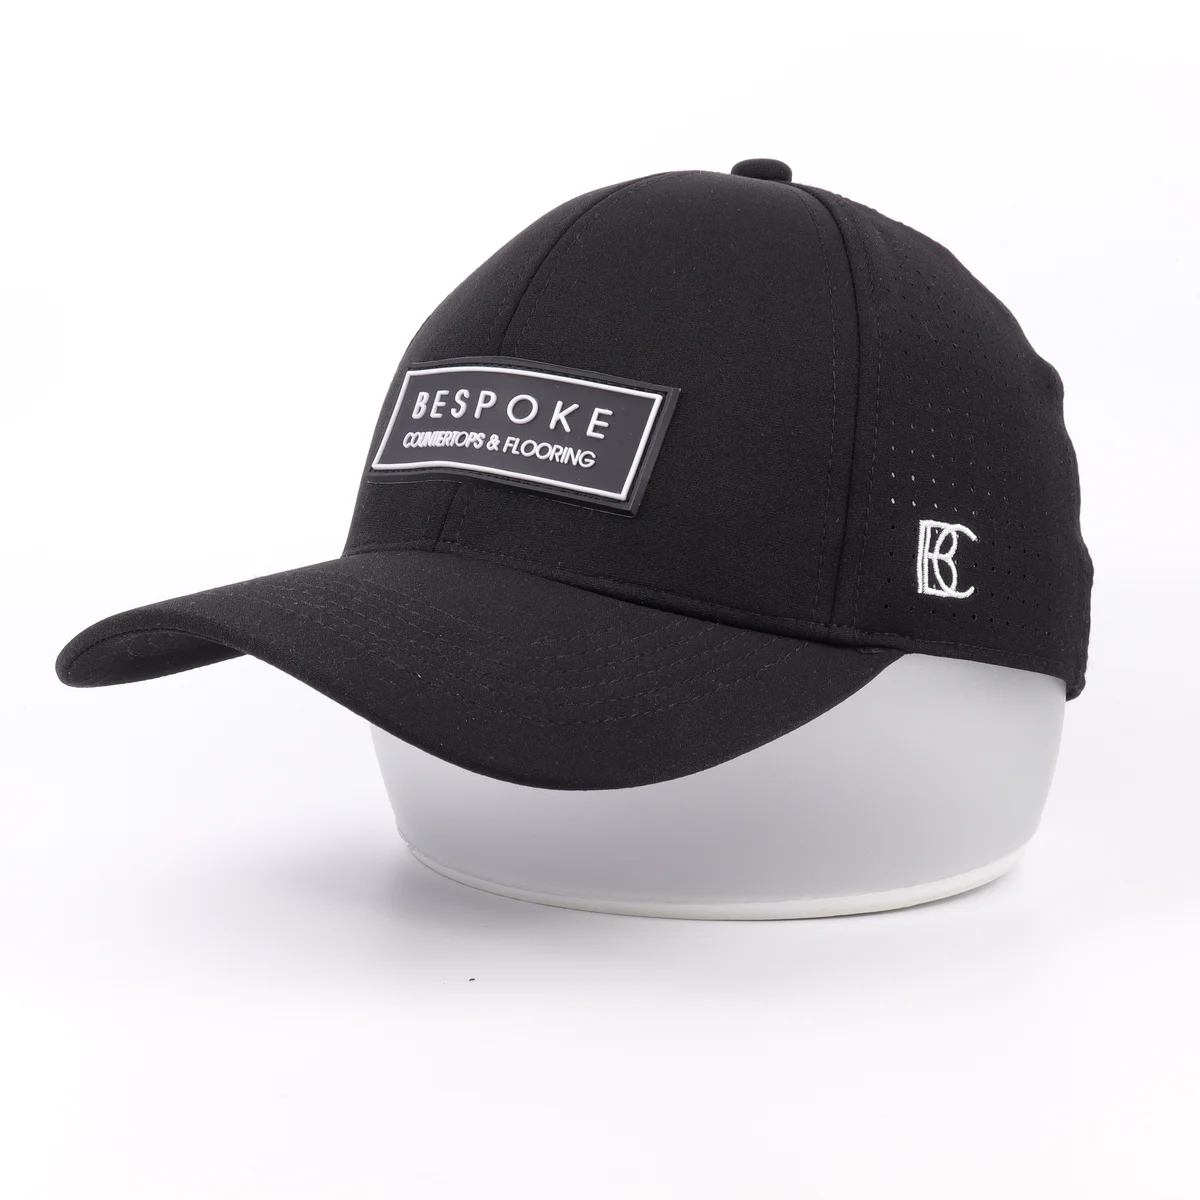
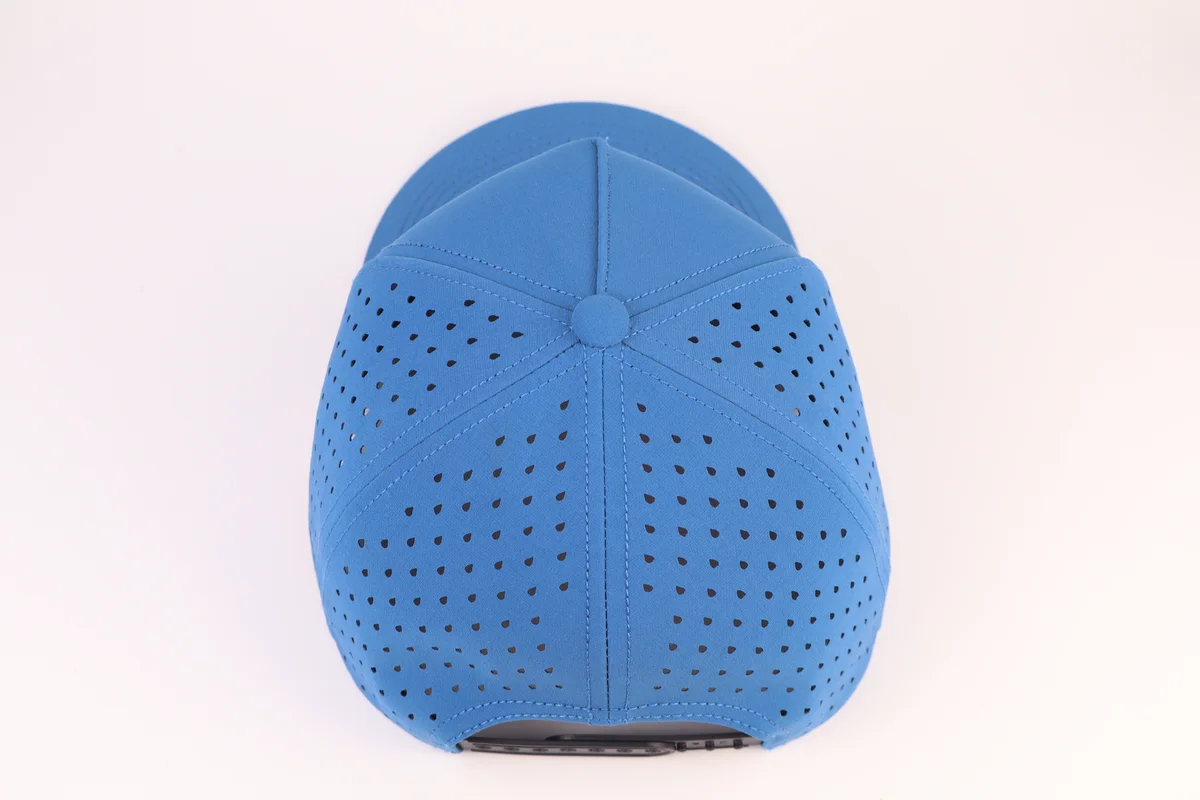
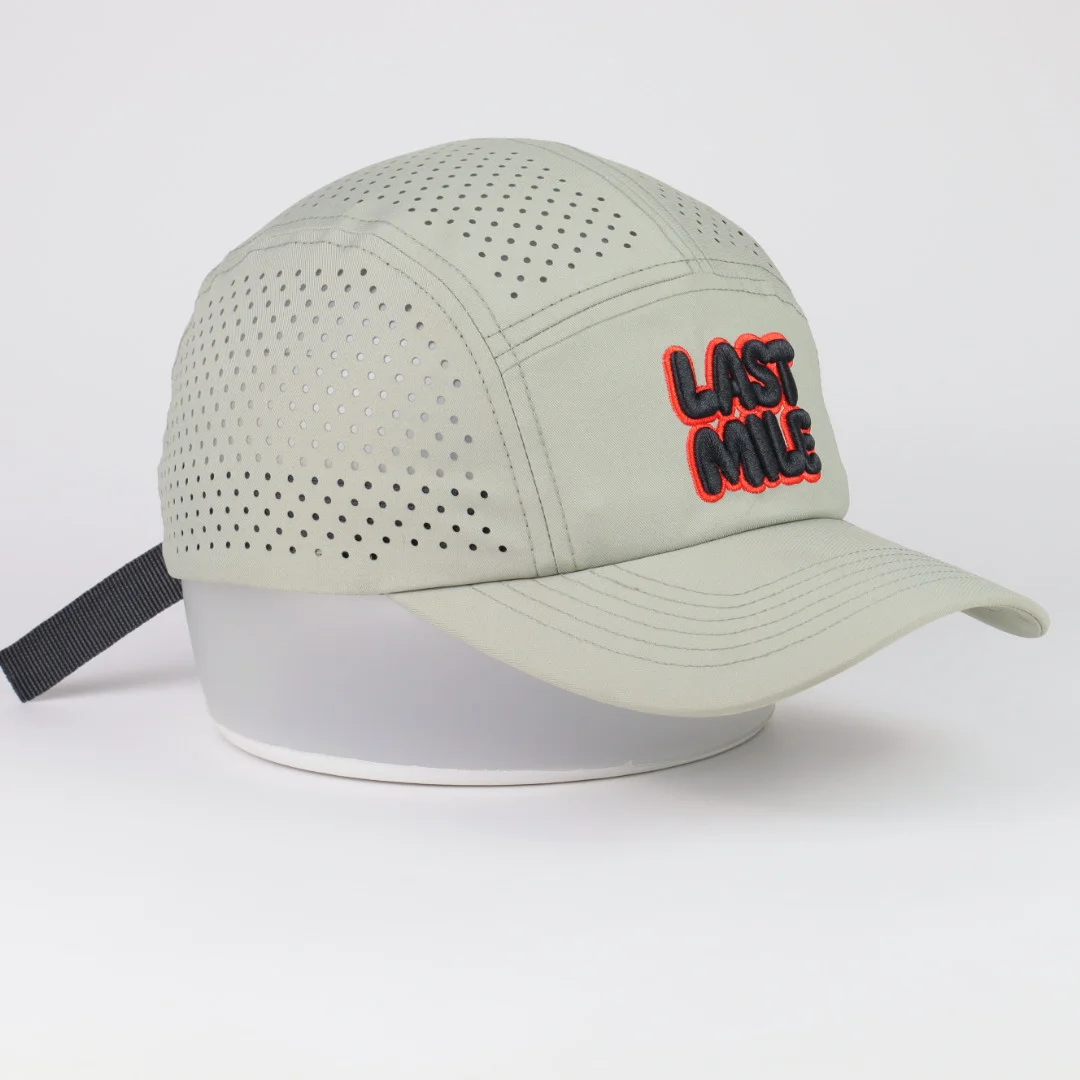
Performance caps are often described with broad claims about breathability. Here the photographs are used for something more practical: reviewing where perforations start and end, how close they sit to seams and whether the intended logo area remains uninterrupted.
Mark the panels that receive perforations and the panels that stay solid.
Confirm hole pattern, edge clearance and whether ventilation continues across a seam.
Test the appearance on the intended material; a photograph alone cannot establish airflow performance.
ORIGINAL PHOTO REFERENCES
Inspect the sample details
Compare hole spacing near seams and around the logo area. Material, hole diameter and ventilation performance need separate specifications.
IMAGE GALLERY
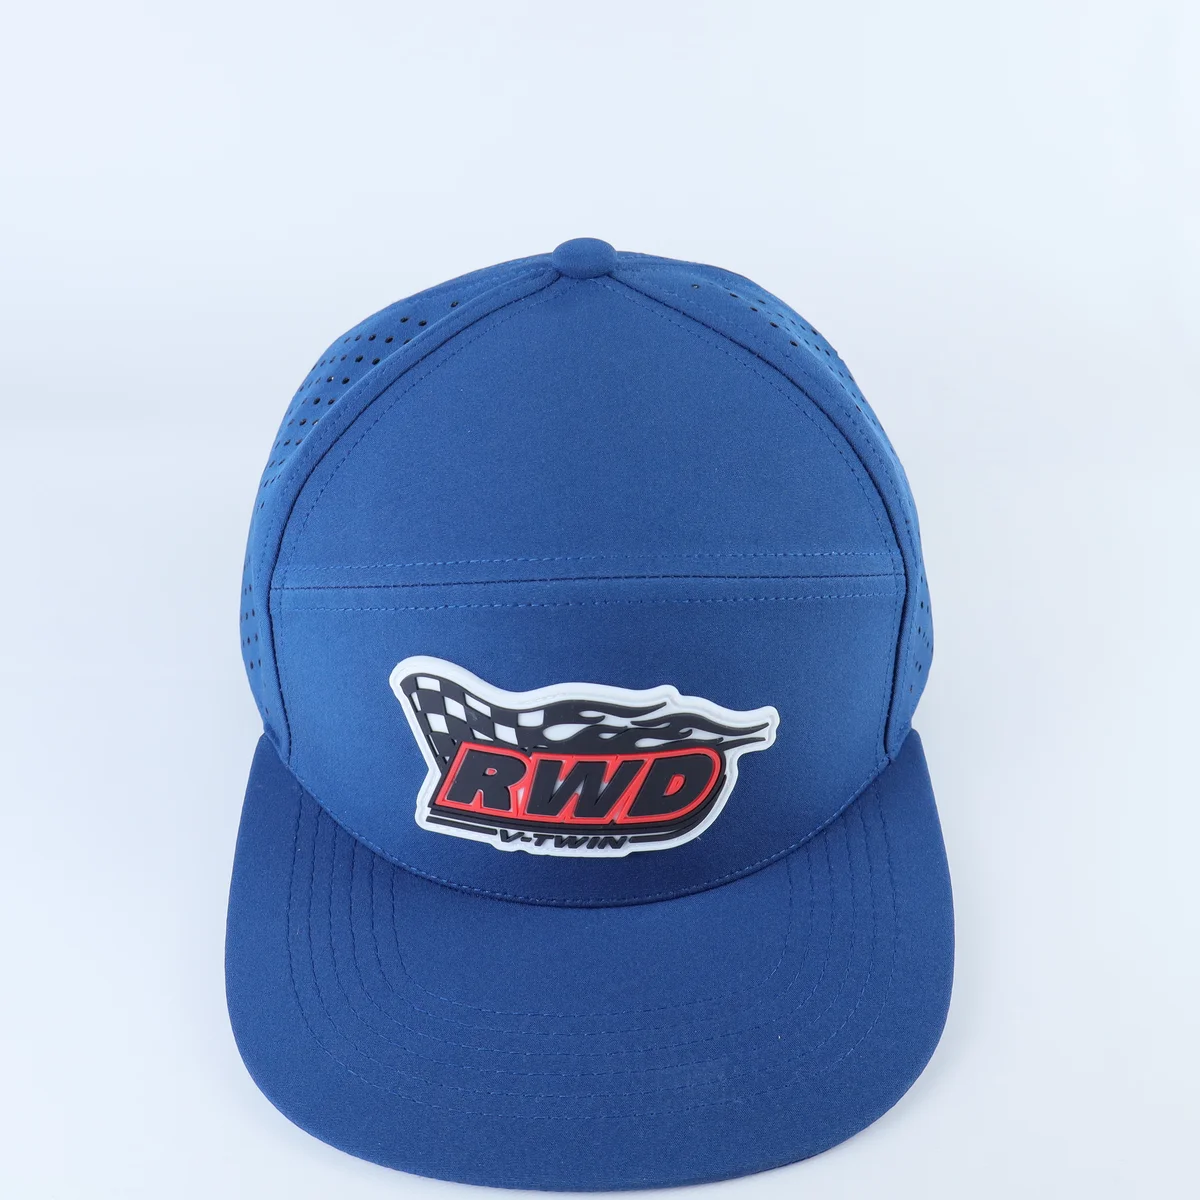
Laser-Perforated Performance Caps from more than one angle
Open reference →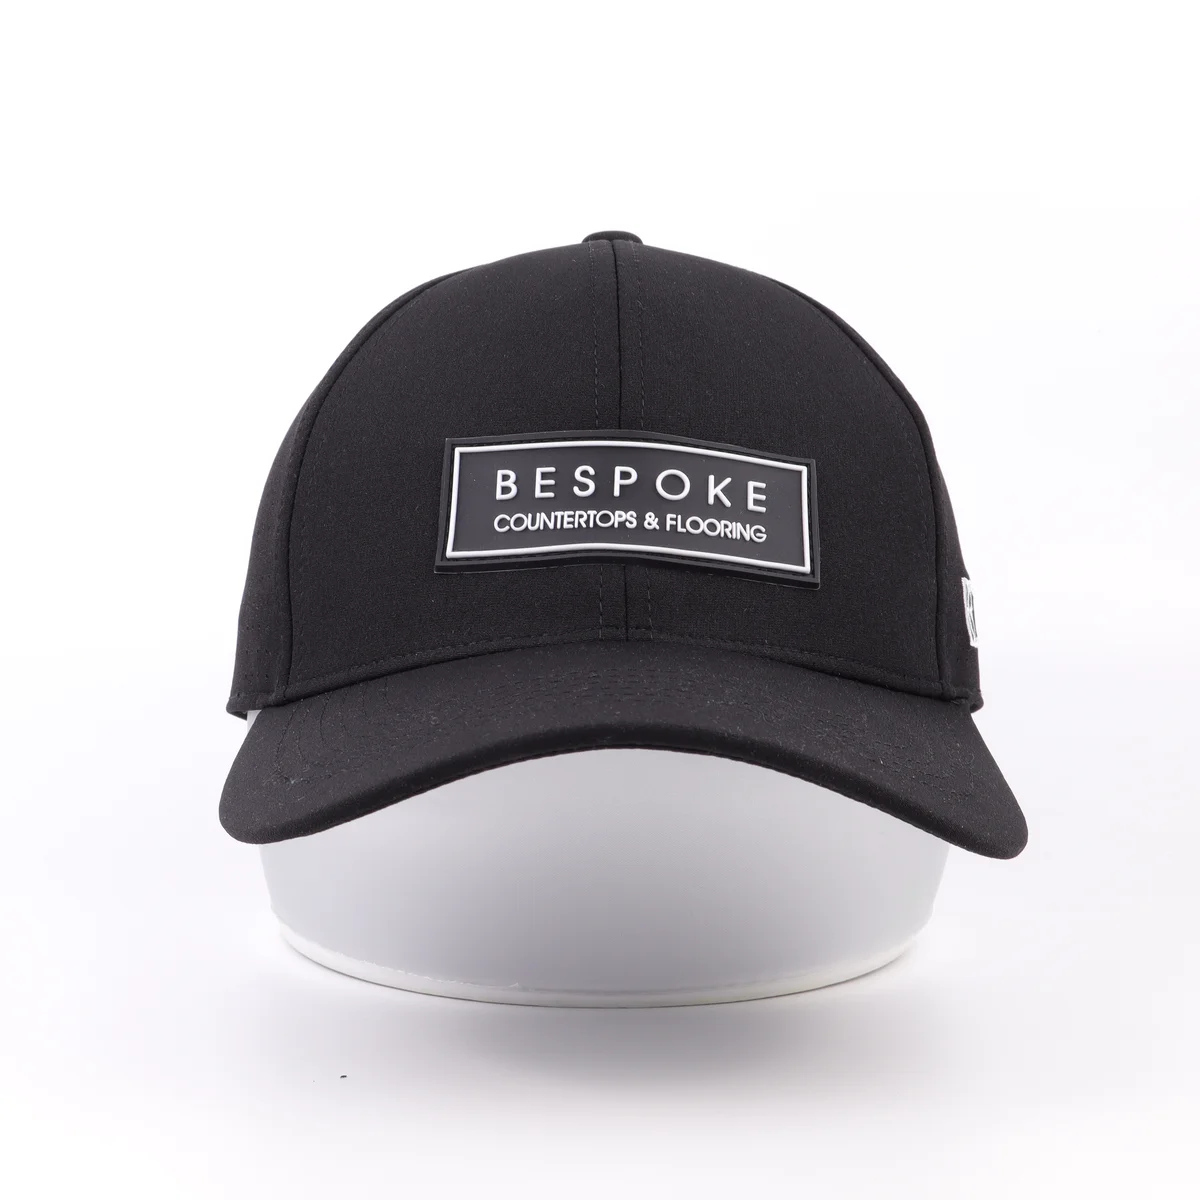 Open reference →
 Open reference →
 Open reference →
 Open reference →
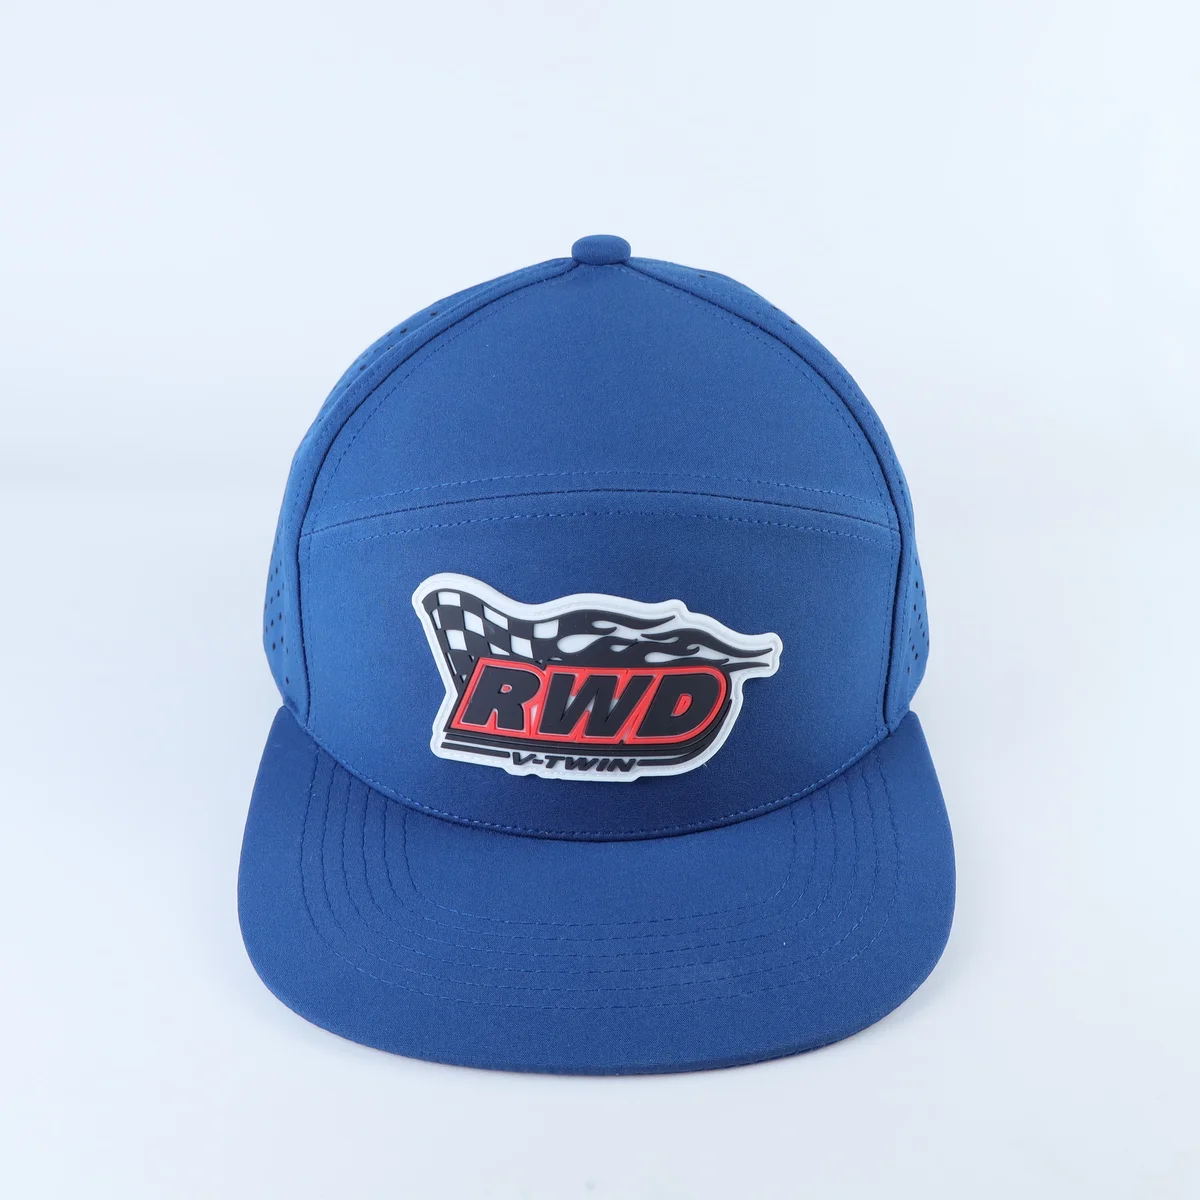 Open reference →
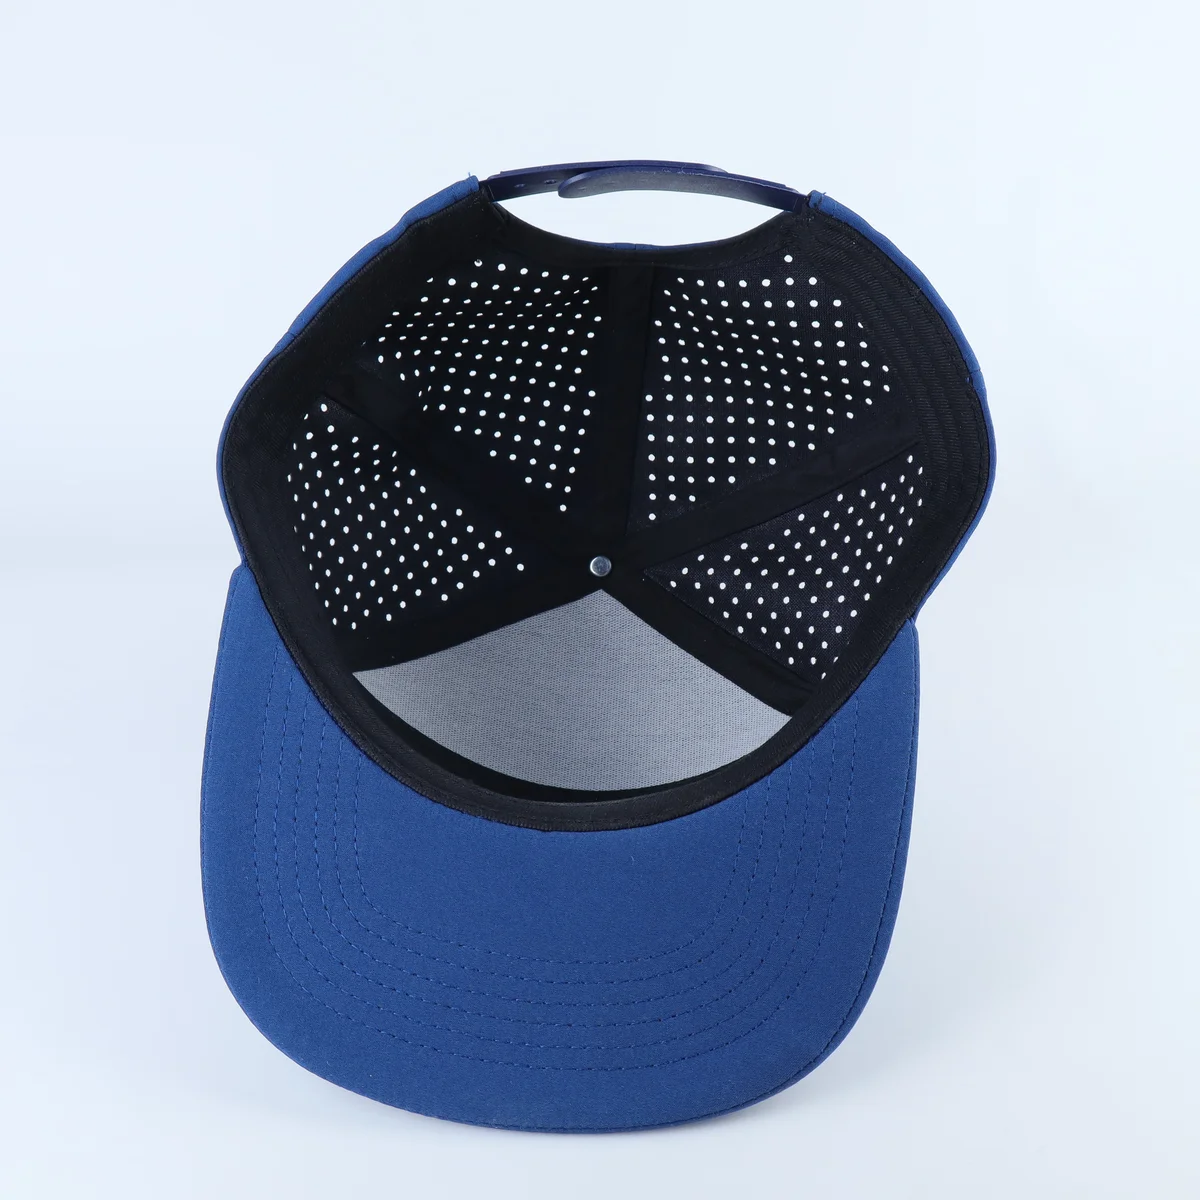 Open reference →
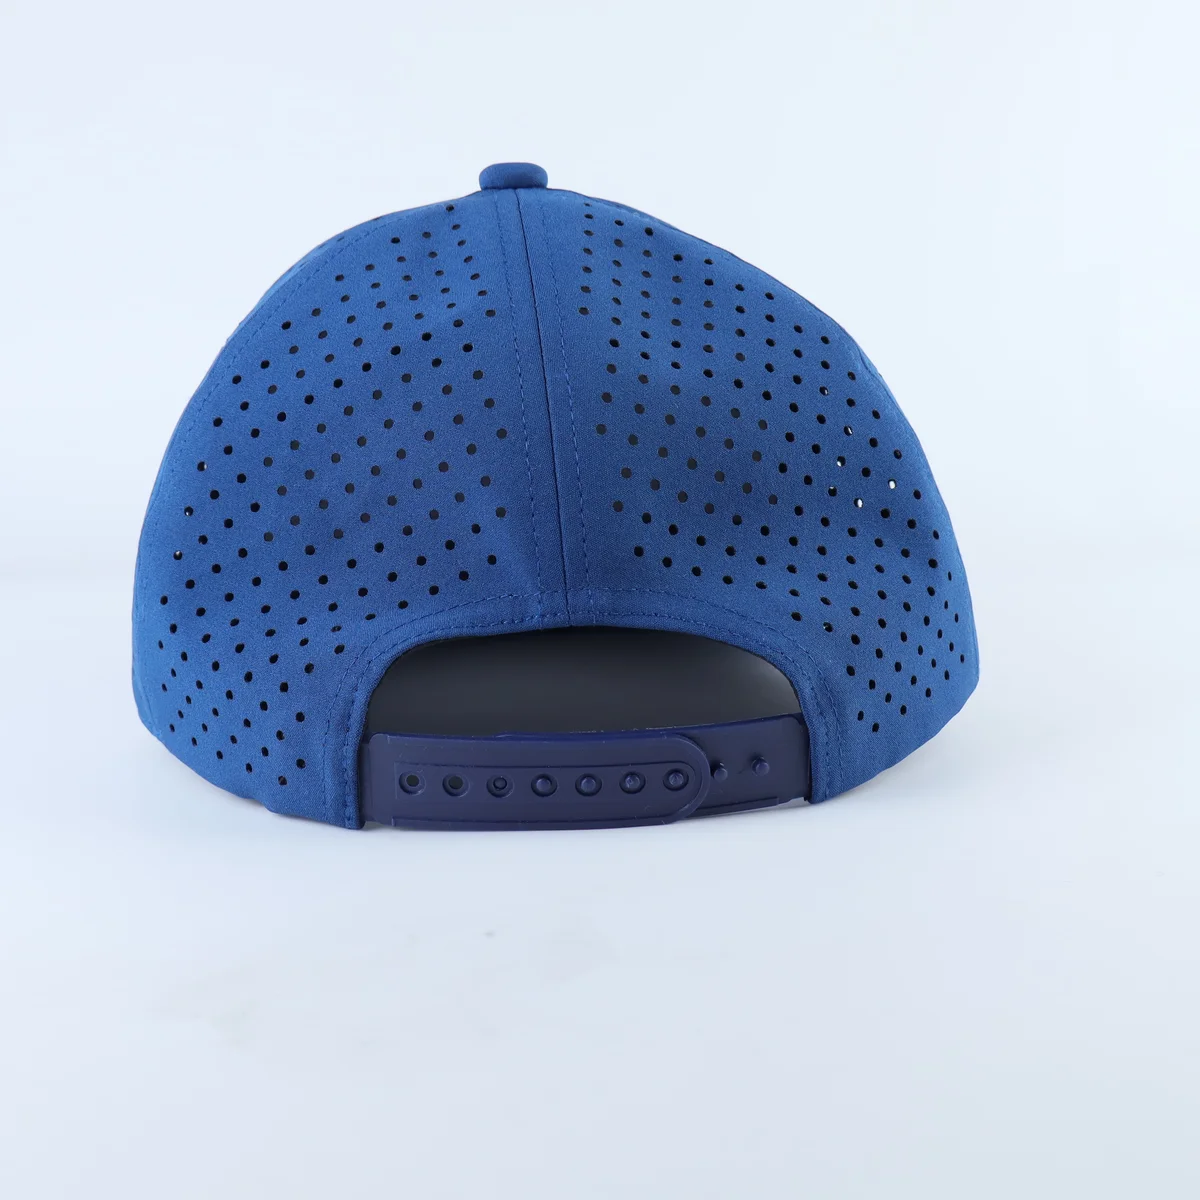 Open reference →
Some images show customer artwork or sample labels. They are construction references; ownership of all artwork remains with its respective owner.
ADDITIONAL ORIGINAL PHOTO REFERENCES
See where a perforation pattern starts and stops
The blue golf cap has an uninterrupted front decoration area while its side and rear crown panels carry ventilation openings. The sage sample shows a different pattern across a panel join. These are separate cap references.
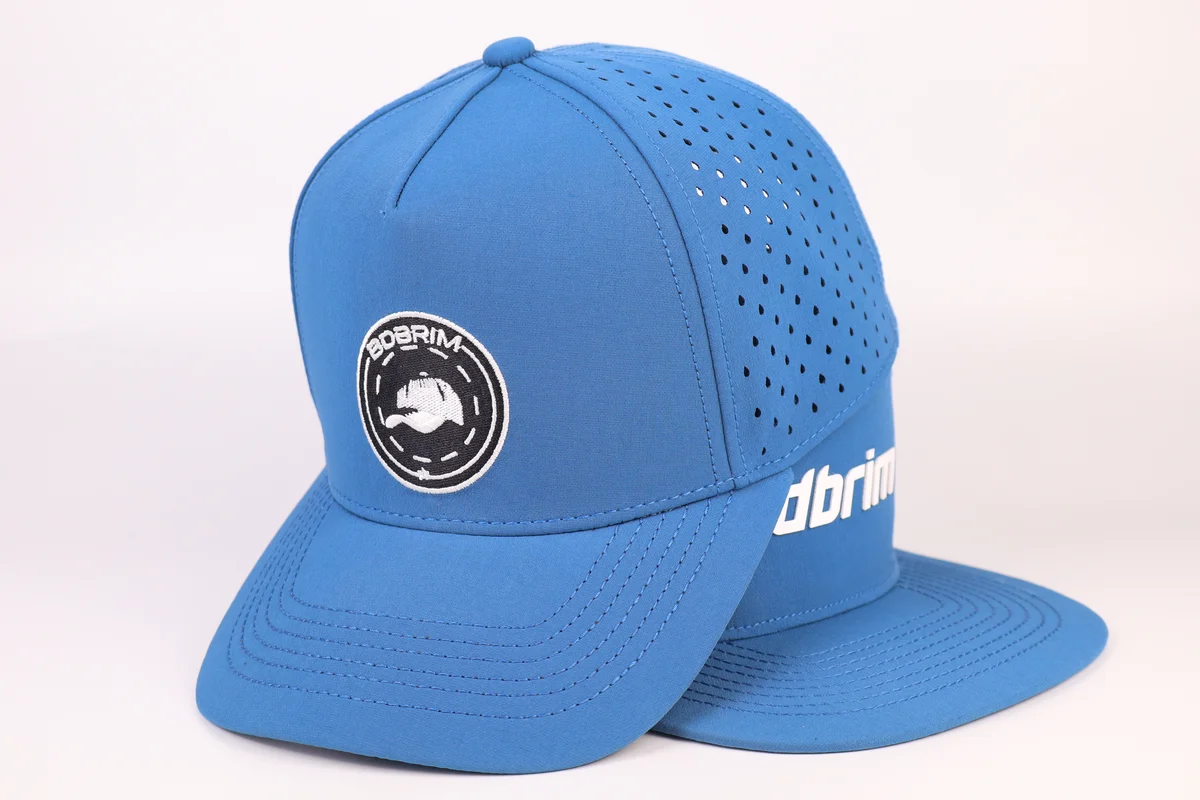
Questions to settle before sampling
- Mark the hole zone relative to embroidery, seams and sweatband coverage.
- Confirm hole size, spacing and whether the sample material supports the desired pattern.
- Request matched front, side and rear photographs before signing off the physical prototype.
FROM A REFERENCE TO A SPECIFICATION
Tell us which construction you want to reproduce or change.
Send a side view, front view or existing sample. Include the panel structure, desired brim, logo and estimated quantity. We will clarify what needs to be confirmed before sampling.